Hello, my friends! We are enjoying a ‘typical’ Spring here in Utah … cold and close to snowing one day, with 80 degree temperatures the next.
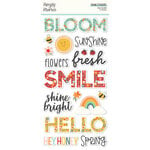
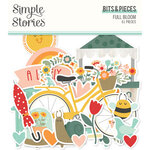
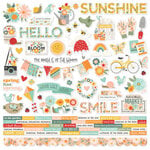
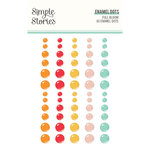
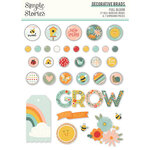
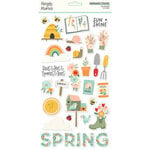
To add a little sunshine to my home over the past couple of months, I created a Spring Banner using the Simple Stories Full Bloom collection to drape across my mantle. It has been a happy sight … so much so that I decided to create one for Summer (this time with the Summer Lovin’ collection). Both of these are projects that I recently did on Simple Stories LIVE and are embedded below if you would like to check them out.
I also have some still shots of the Spring Banner. I’m waiting a week or so before I add the Summer Banner to my mantle, and I’ll be back with still shots of that project once it makes its debut over the fireplace.
Are you looking for a way to brighten up a corner of a room with holiday cheer? Or maybe you need a handmade gift idea for someone who could use some additional Christmas spirit?
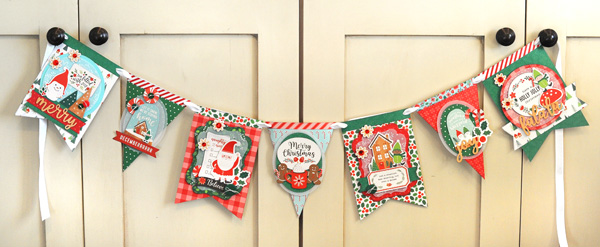
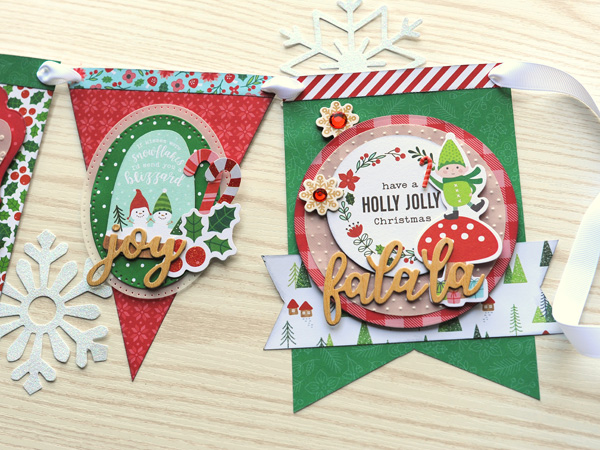
Christmas banners to the rescue! Banners are perfect for adding to a mantle, banister, sideboard, window, treat table, and more! I created this Jingle All the Way Banner for the Scrapbook.com Holiday Inspiration Series on their YouTube channel and wanted to share it here with you today!
Watch as I take you through my step-by-step batch process for creating focal point images by selecting a main image, adding in supporting images, connecting them all together with a shape, and then adding additional layers underneath. We start from the image to the front and work our way back to the base layer.
These concepts can be used for anything and can be applied to any type of collection! Try this process for creating a batch of cards, tags, embellishment clusters for a layout, gift bags, and more! Watch the video below!
First up, I have a festive scrapbooking page where I used the Banner Punch Board to create notched strips for my photos to rest on. Watch the video below to see how I accomplished this.
But that’s not all! After taking a look at the scrapbook page, be sure to scroll to the bottom of this post to see a Christmas Banner I created with the Banner Punch Board and the Pebbles Cozy & Bright collection.
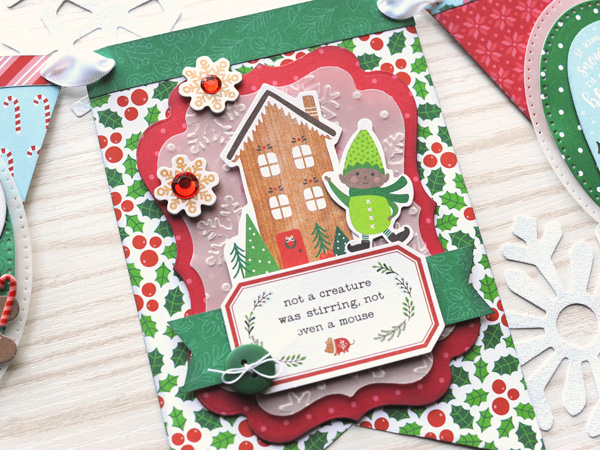
I adore the whimsy and fun of a snowglobe, so for this first section, that is what I tried to create! I used an aqua circle cardstock piece for my globe and then added a smaller vellum circle on top that was embossed with a snowflake embossing folder. I then added die cut trees and a happy little snowman.
This second section features a snowglobe die cut. I framed it with two layers of vellum die cut ovals, added a puffy sticker elf, and a pair of glittering, peppermint die cuts.
Santa himself, is the star of this third pennant. He is reviewing his list and deciding who will get their Christmas wishes fulfilled this year!
This pennant makes me want to bake up a batch of gingerbread cookies and sip on a mug of hot cocoa. I added puffy sticker candy canes in the palms of each gingerbread cookie’s hand and accented the mug with a red gem.
This friendly little elf is out and about enjoying a wintry walk in the neighborhood. Just like the elf, I enjoy the peace and calm I feel on a snowy, winter night.
I added a pair of candy cane die cuts to accent this snowglobe. I love the woodgrain pattern of the Phrase Thickers that coordinate with this cute collection!
This final section features an elf dancing and singing atop a toadstool. He has a treat in his hand, ready to share with you as he wishes you a “Holly Jolly Christmas.”
Have you added the Banner Punch Board to your crafting arsenal? Pick one up for yourself and get making with it TODAY!
Hello!I’m back with another papercrafting project for your home! This time, we are looking forward to Halloween … my favorite!
Today I am working with the brand new Bewitched collection by Echo Park Paper. This collection features the prettiest, sweetest witch you have ever seen and I couldn’t wait to feature her in my design!
You have probably seen the wood block decor that looks like the blocks are mounted on a candlestick with a knob adorning the top … well, I came across a cut file by MyScrapChick.com that mimics that look except every piece is made out of paper instead of wood! I couldn’t wait to give it a try!
The smaller block features the witch’s best friend, a black cat! I own a black cat myself, and so I love to add black cats in my Halloween decor as much as possible! This sweet little guy is peeking out of from a friendly Jack-O-Lantern sitting next to the jar of candy. I used flower stickers and a shiny, black satin ribbon on both blocks, tying them together visually. The sides of both blocks are also both decorated with panels of Witch Hats paper.
Do you have a favorite Halloween icon you like to add to your decor? For me, it is witches, black cats, and jack-o-lanterns … and I was so happy to be able to include all three on this project!