SCT Magazine: Patterned Paper Technique

Hello, friends! Today I’m up on the Scrapbook & Cards Today Magazine blog with a layout using the gorgeous Simple Stories Remember collection. The colors of this collection are perfect for scrapbooking these photos of my parents on their wedding day where their colors were blue and avocado green, complimented by the harvest gold carpet of the reception center. Can you believe these colors are making a comeback?!

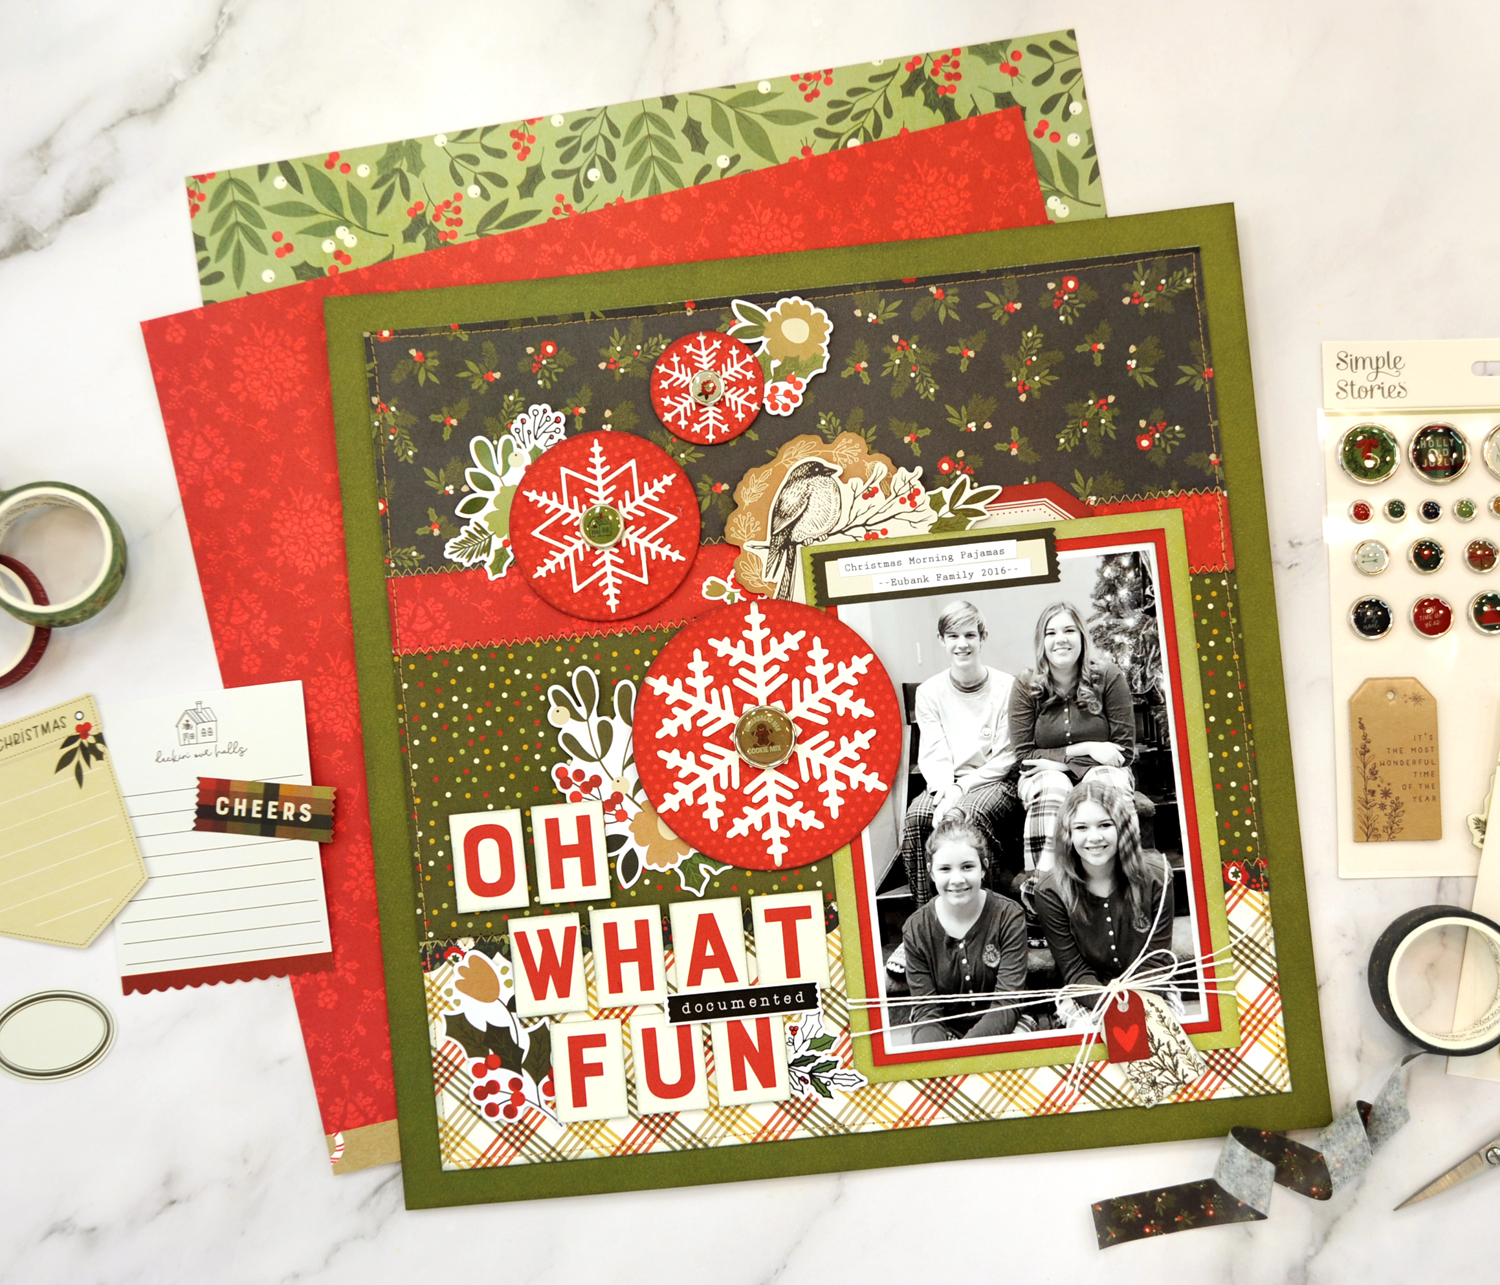
One of my favorite supplies is patterned paper. I love it so much that sometimes it is difficult for me to choose which papers I want to add to my layout. Read on to find out how I narrow down my choices to create a layered background for my pages.

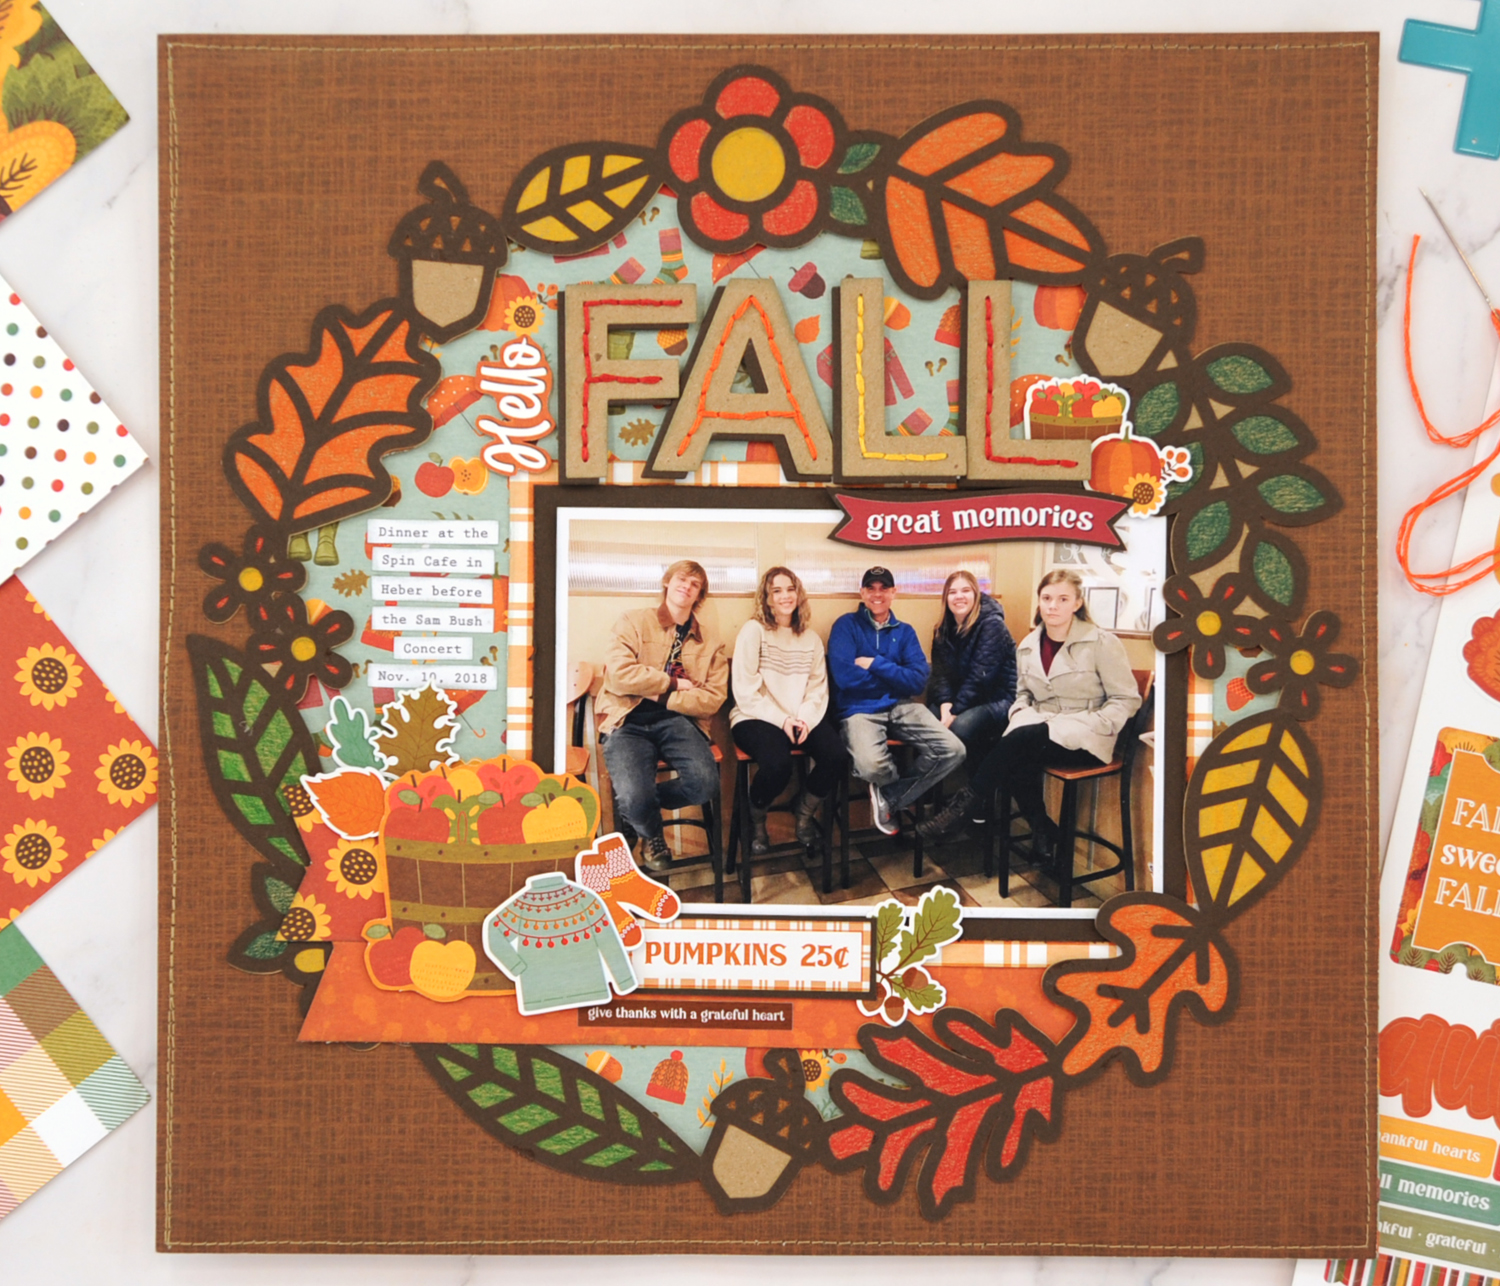
The first thing I do when selecting papers for my layout is hold each pattern up to my photos to see which colors look the best. Next, I hold the papers next to one another and decide which patterns look best combined together. For this layout, I chose to go with mostly gold tones.


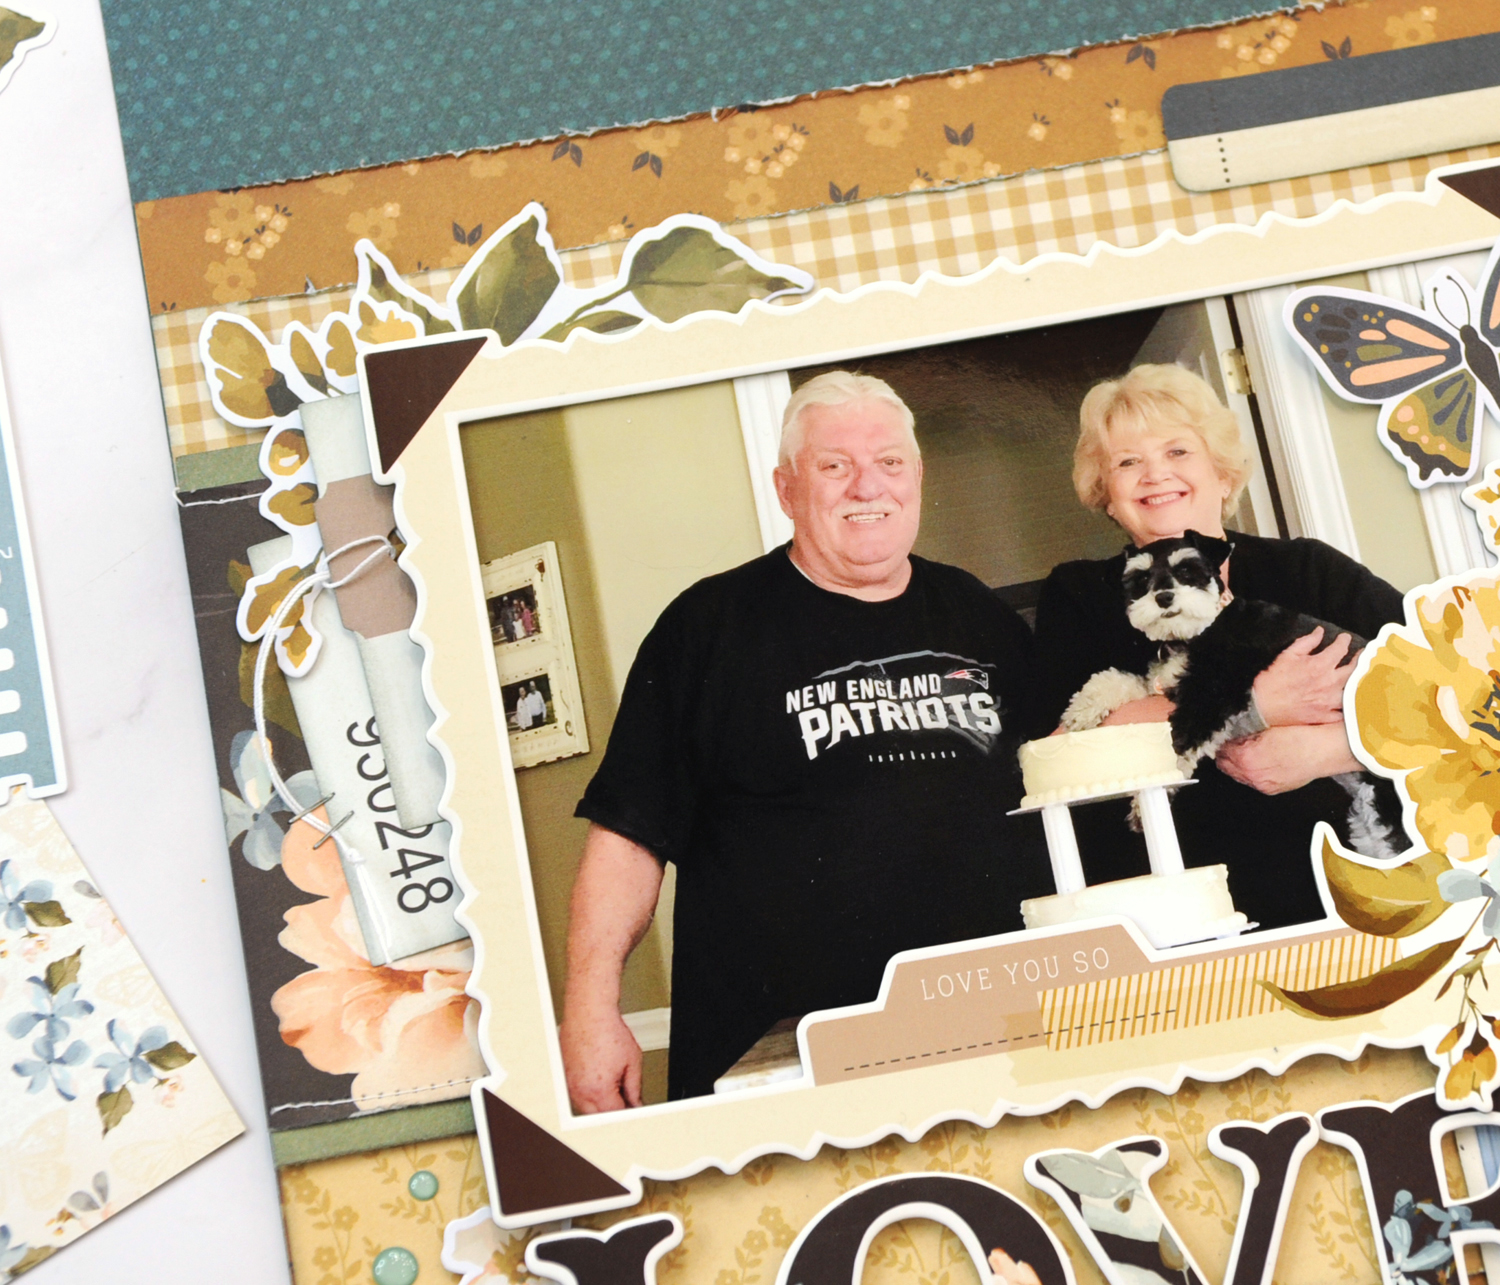
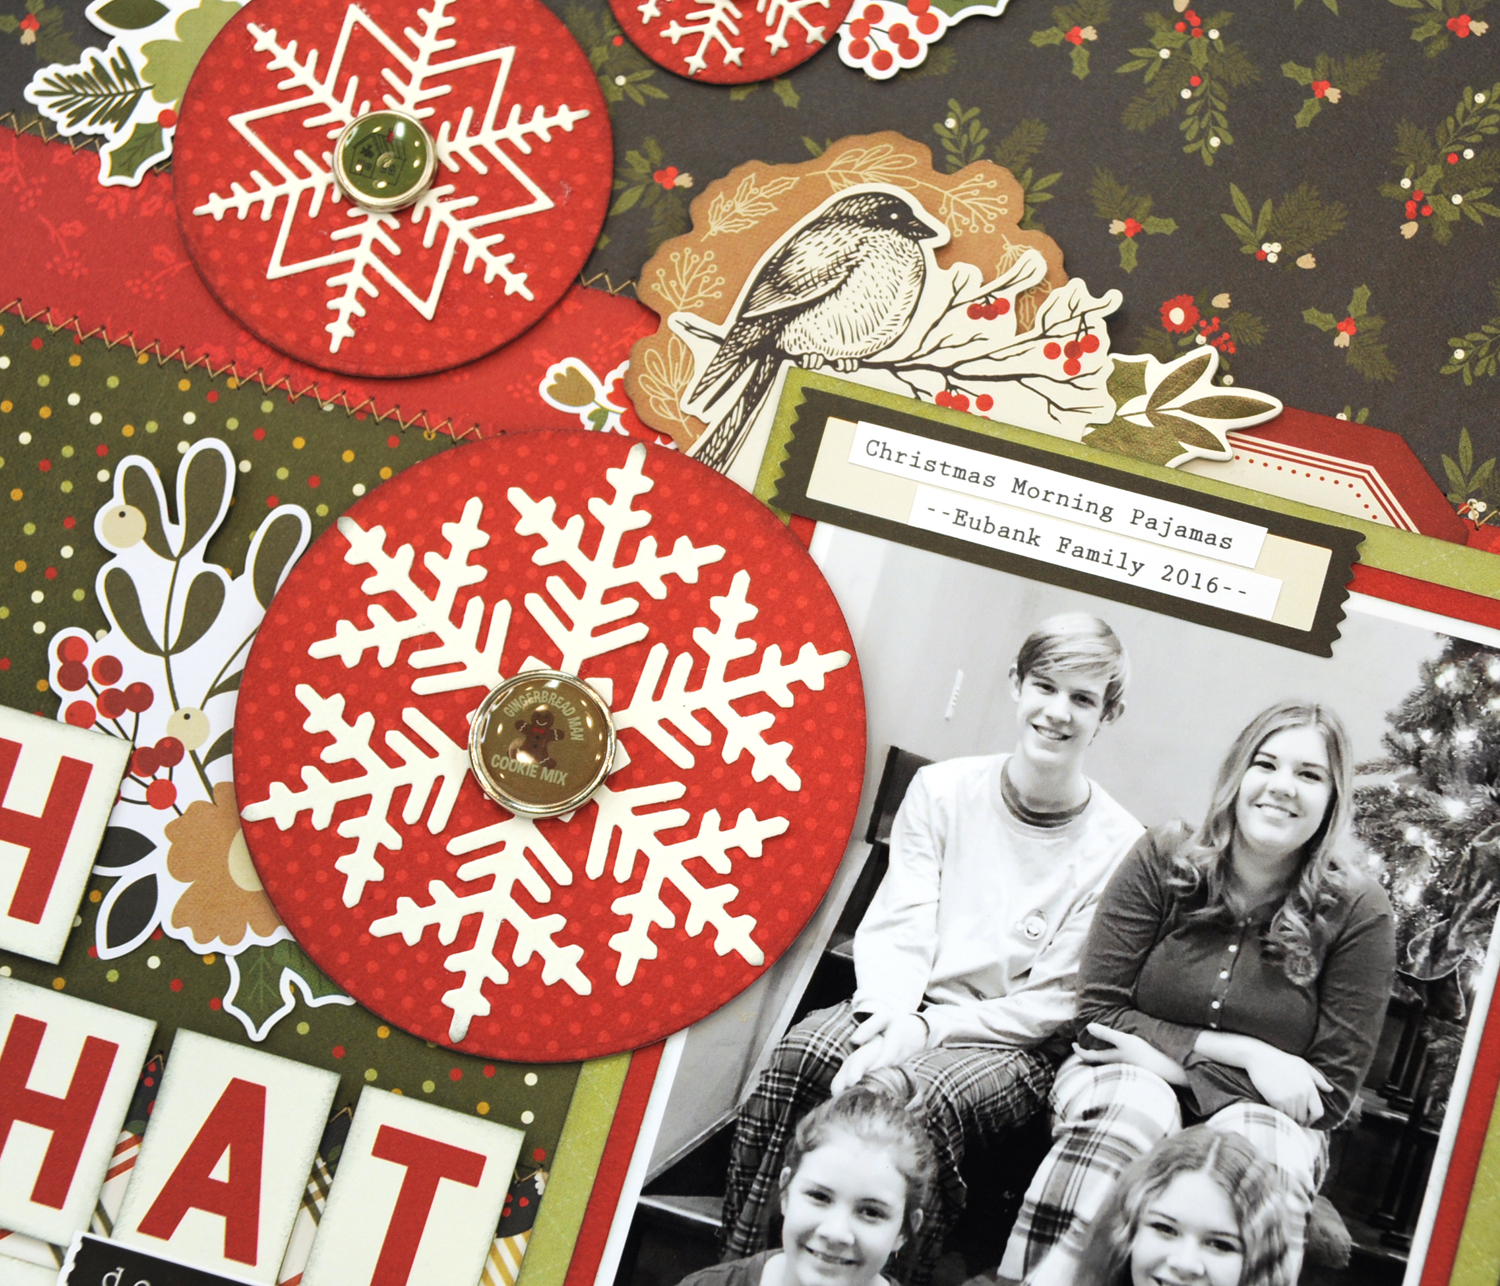
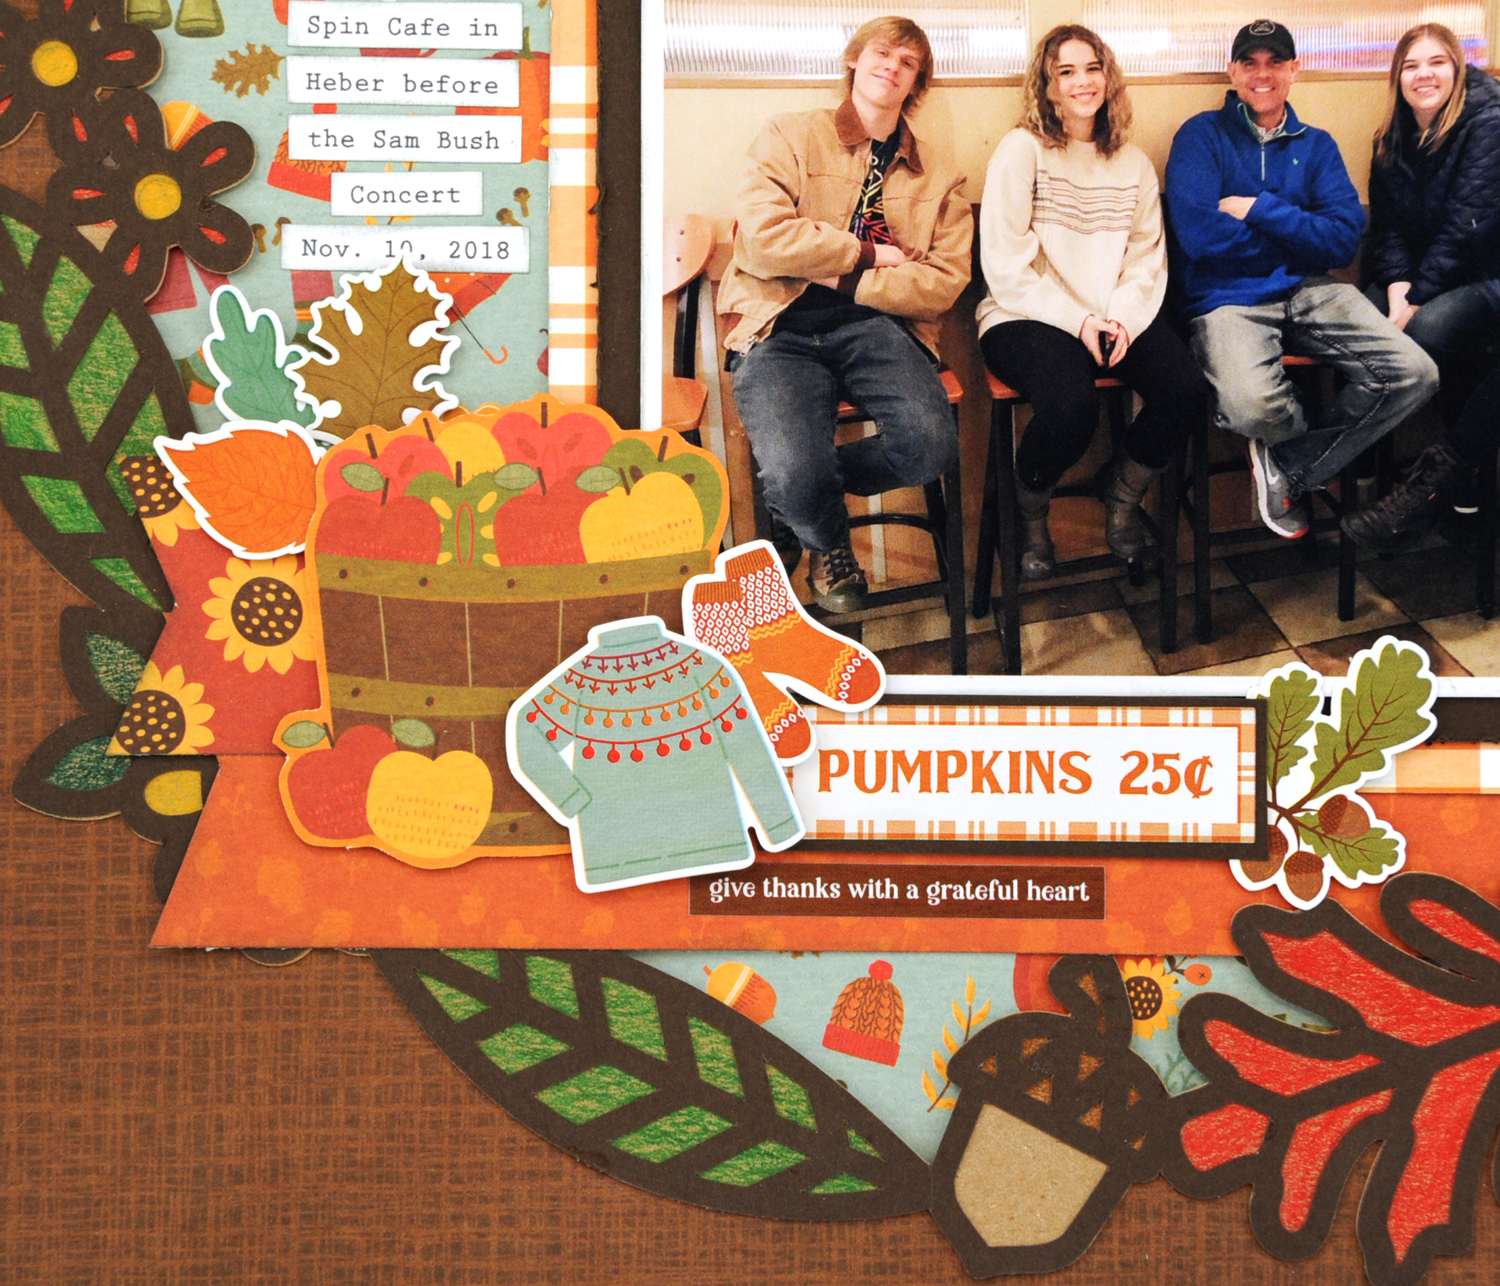
The first paper I chose for this layout was the dark gold floral paper. I liked how it looked with the deep teal cardstock and cut a band of it to go across the center of the page.


I wanted a strip of patterned paper to anchor my main photo, so I cut a contrasting strip in a black floral and matted it with Moss cardstock.


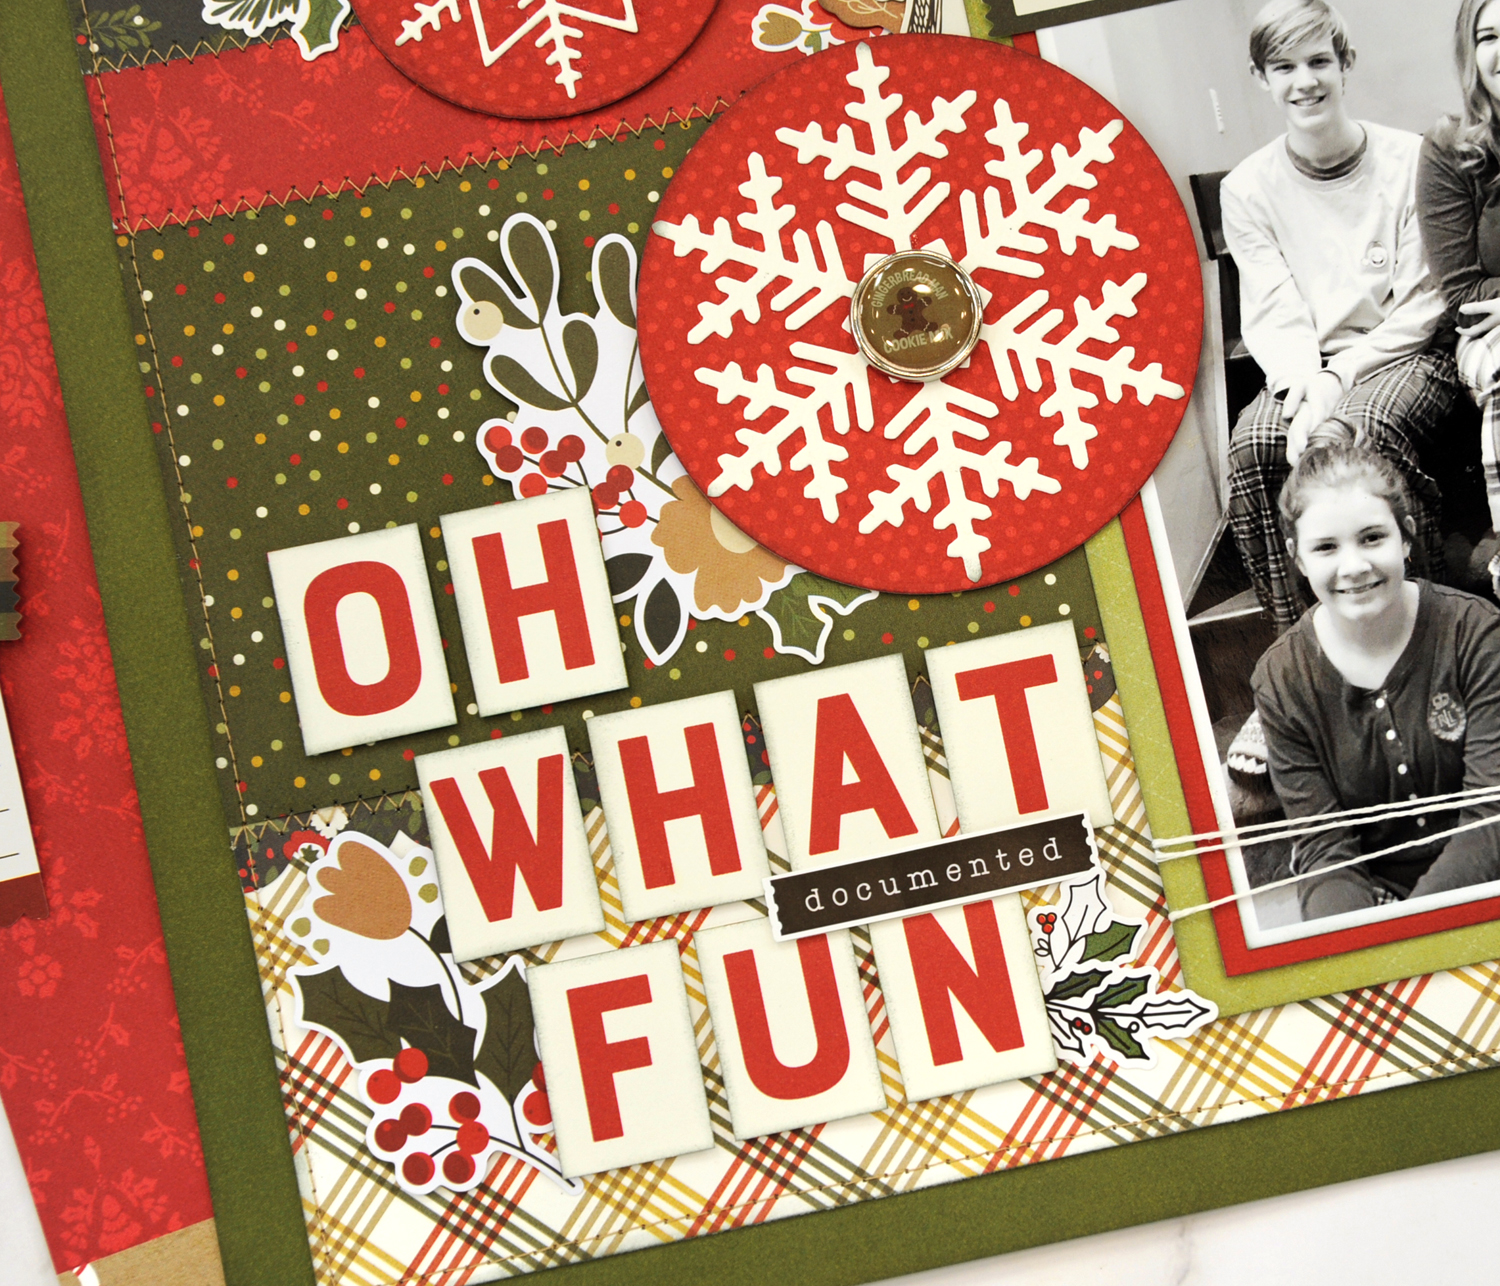
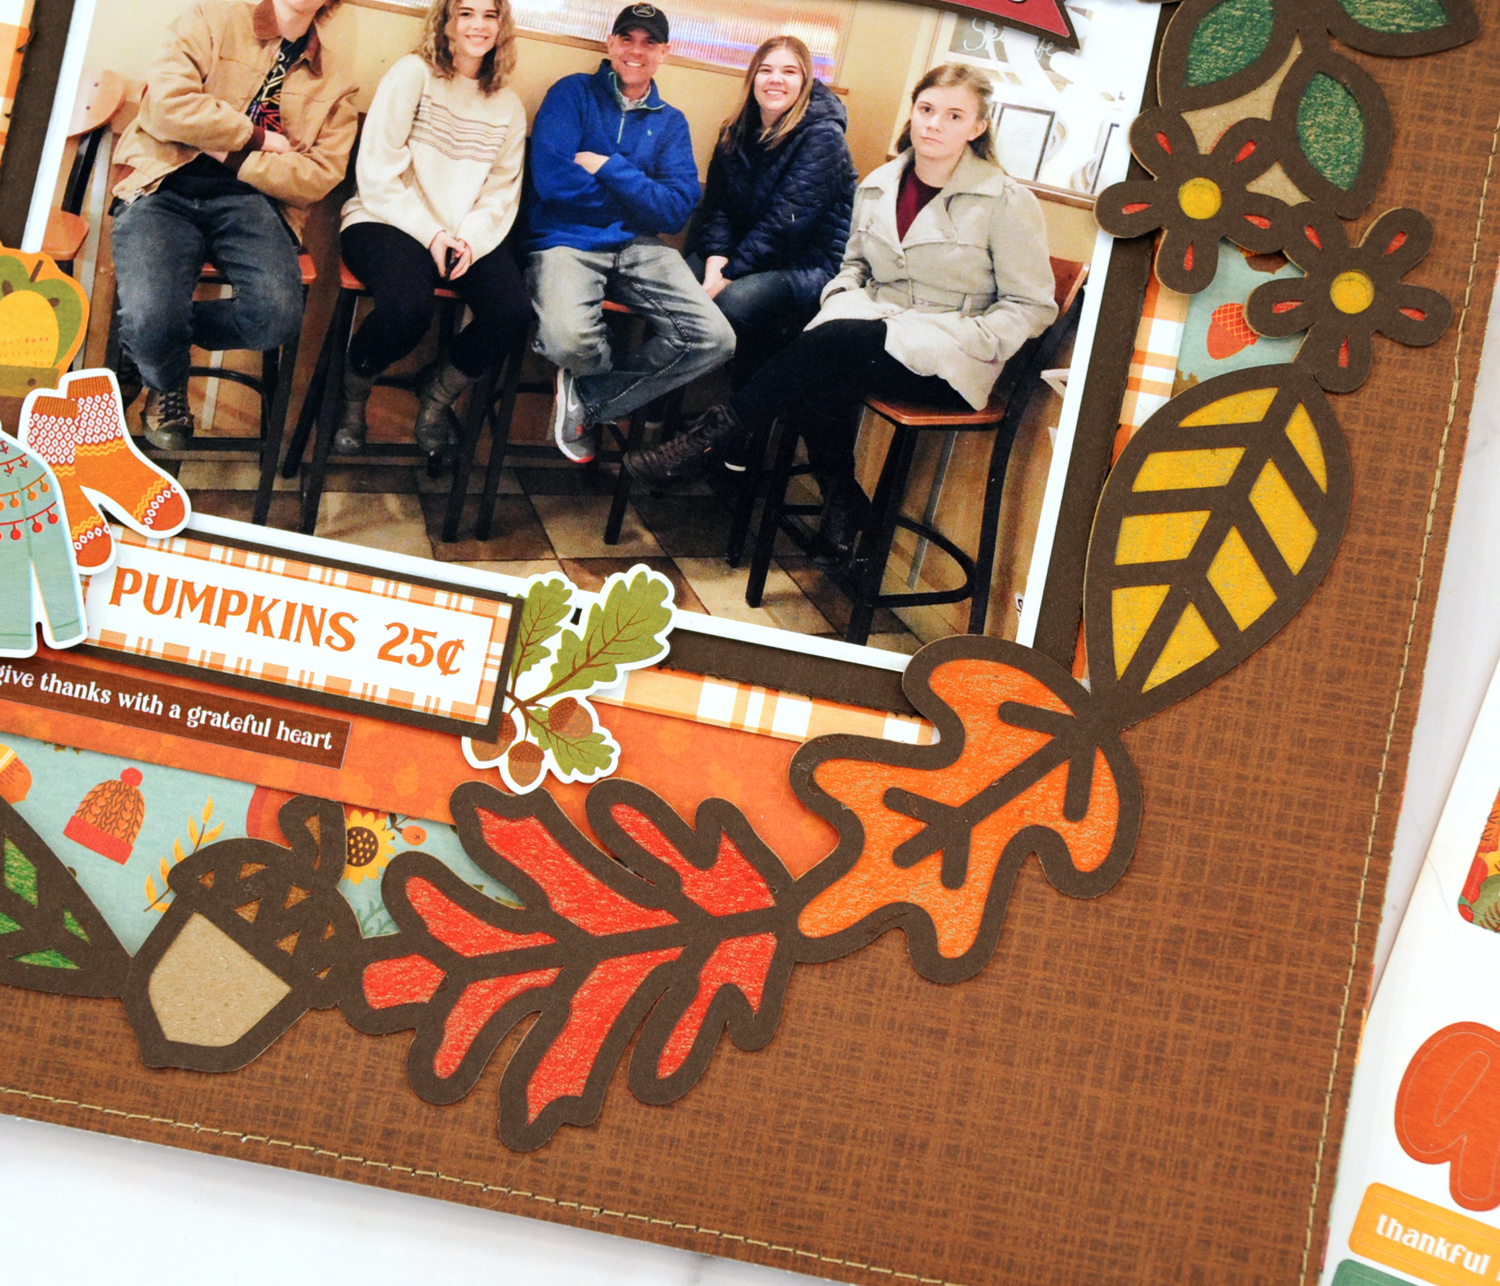
That still felt a bit too simple, so I decided to implement one of my favorite techniques … combining strips of patterned paper together in one color. You can see that I added the gingham check strip and the wallpaper floral pattern in gold above and below the black floral strip.

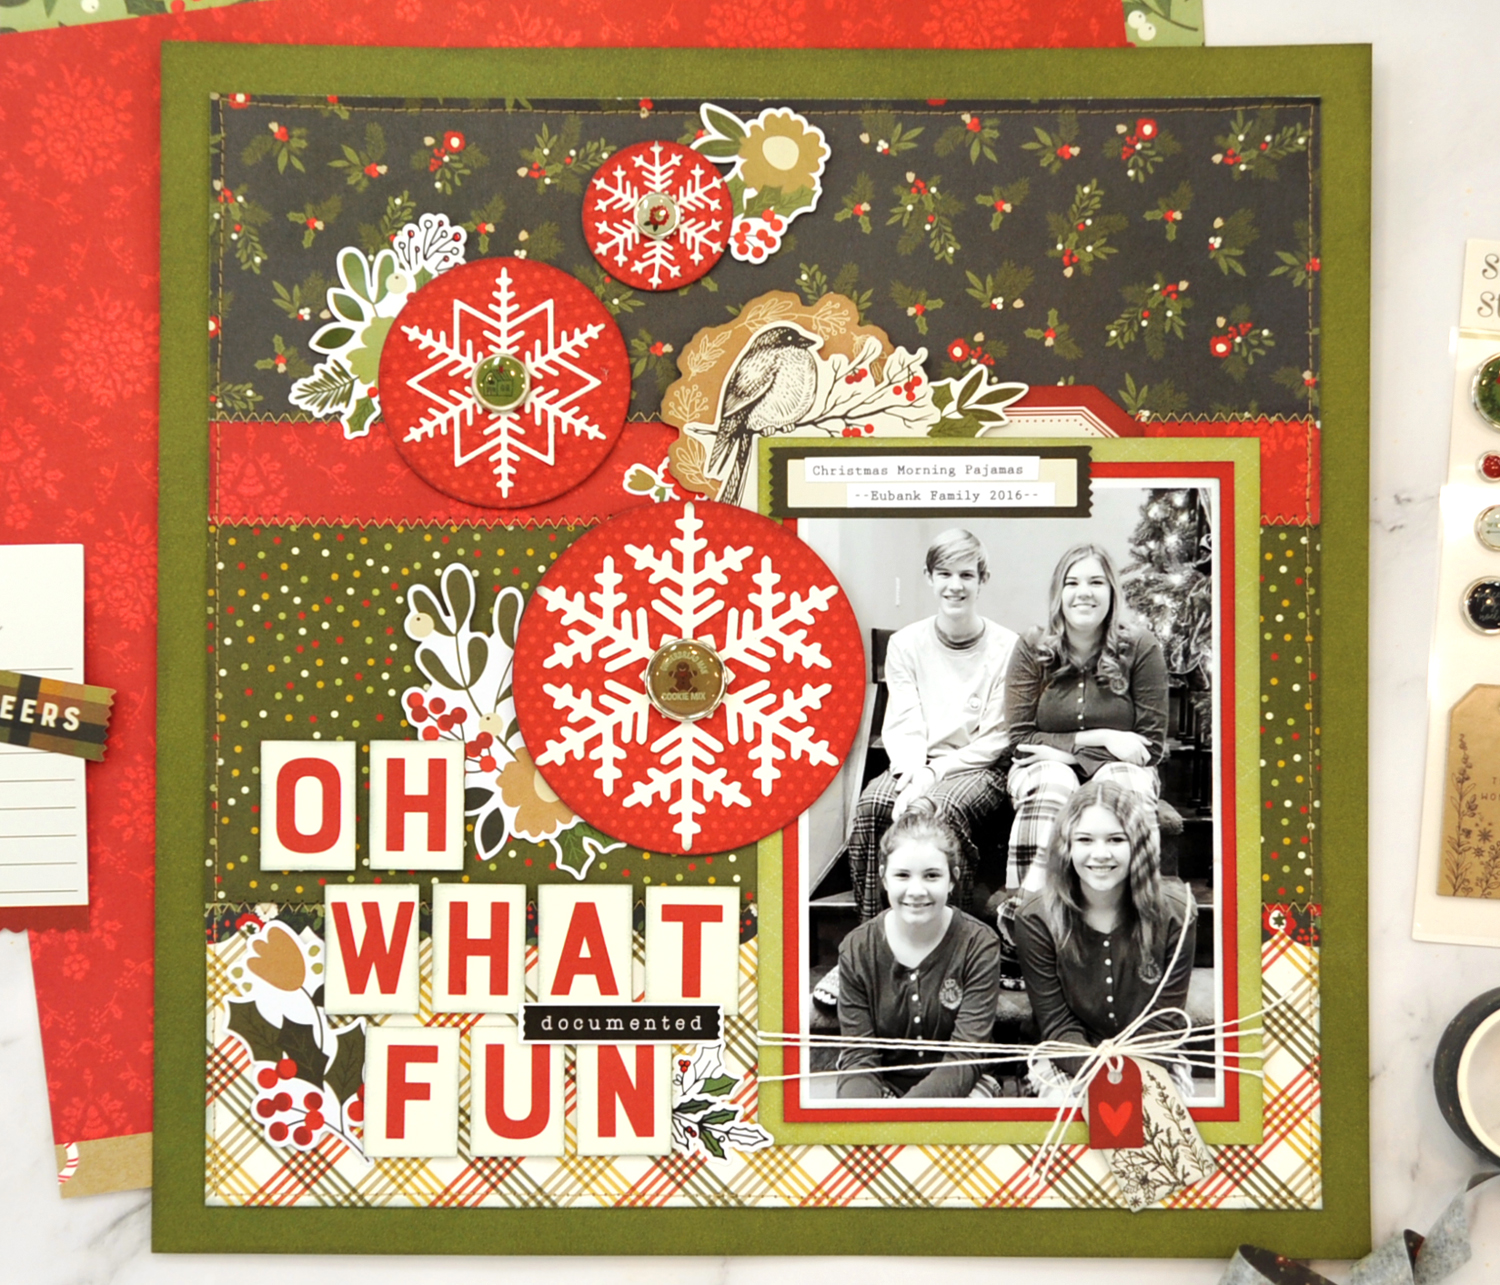
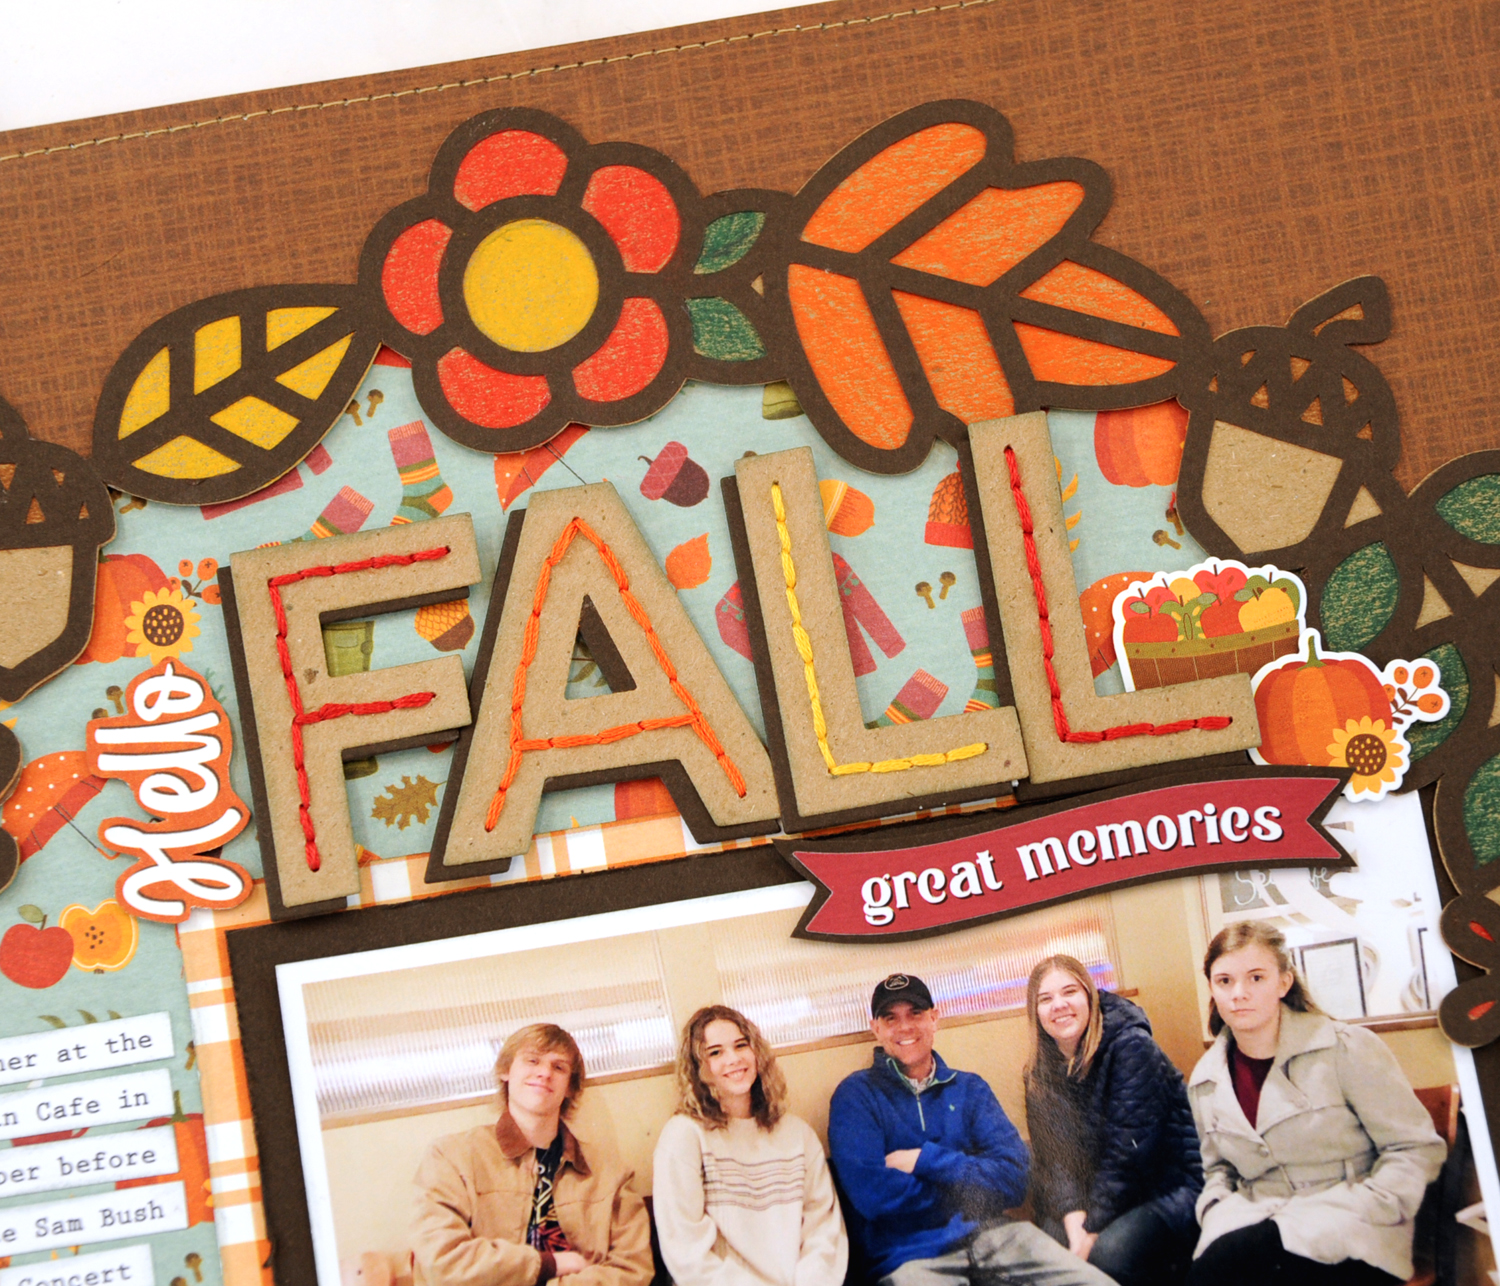
The layered strips combine together to form an interesting layered background that compliments the colors in my photos. Once the background and photos are in place, then it is time for the most fun part … embellishing!


Embellishing this layout was easy with the Simple Stories Remember collection. There are so many beautiful florals, butterflies, and ephemera pieces. Perfect for accenting this layout including my parents’ wedding photos.

I hope you enjoyed taking a look at my layout today! Stop by the SCT Magazine YouTube channel to see a process video of this layout.


Happy Scrapping!

JanaBold

SUPPLIES USED IN THIS PROJECT:

JanaEubankYouTubeIcon JanaEubankIconFacebook JanaEubankIconInstagram JanaEubankIconPinterest

Scrapbook & Cards Today Magazine: 12 Days of Holiday Giving with Simple Stories

Be sure to pop by the Scrapbook & Cards Today Magazine blog this week as we continue to celebrate the 12 Days of Christmas! Today I’m sharing a layout featuring the beautiful Simple Stories ‘The Holiday Life’ collection. The traditional color palette of red and green in this collection, underscored with black and soft cream, will compliment your holiday photos perfectly this season!

OH WHAT FUN

I began this layout by stitching various 11″ wide strips of patterned paper in a block to a base of Color Vibe Avocado cardstock. These patterns looks so cute together and add a homespun, cozy Christmas vibe to this layout.

Next, I created a cascade of snowflakes floating down the left side of my layout using two die sets from Scrapbook.com, Nested Circles and Snowflakes. The snowflakes were die-cut from Color Vibe Warm White cardstock and the circles were die-cut from the dotted side of the Color Vibe Brick cardstock. Each snowflake circle is accented in the center with a shiny Simple Stories Decorative Brad.

I also accented each snowflake circle with floral stickers and die-cuts for added holiday flair! The cluster of Journal Bits in the top-left corner of the photo call your attention to the journaling.

I love to look for larger scale pieces that I can fussy-cut from the Simple Stories Element papers or 6×8 paper pad to decorate my pages. This time, I found large tile letters in the 6×8 Paper Pad that I used for my title. I tucked in more stickers and die-cuts around the letters to tie the title in with the rest of the elements on the page.

The Journal Bits include so many fun shapes and word die-cuts that are perfect for accenting your layouts. I found two tiny tags that I layered together, then tied to the bottom of the photo using white twine.

Scrapbooking with the Simple Stories ‘The Holiday Life’ collection definitely put me in the mood for the Christmas season. I’m ready to deck the halls! How about you?!

Thanks for coming by today, see you again soon!

JanaBold

SUPPLIES USED IN THIS PROJECT:

JanaEubankYouTubeIcon JanaEubankIconFacebook JanaEubankIconInstagram JanaEubankIconPinterest

Scrapbook & Cards Today Magazine: Hello Fall

Hello, friends! The fall season is winding down as we head into Thanksgiving, but I have a few more fall-themed layouts to share with you this week. Today I am up on the SCT blog with a layout using one of the FREE cut files from the Fall 2023 Issue of Scrapbook & Cards Today magazine and the beautiful Autumn Vibes collection by PhotoPlay. Check it out!

Creating with cut files always gets my creative juices flowing. For this layout, I decided to create an aperture with the wreath cut file. I adhered it to the brown patterned paper (Crisp Air paper), then used my fine-tipped scissors to cut out the center. Next, I adhered the entire piece over the teal Fall Frolic patterned paper with foam tape.

I cut the wreath file from dark brown cardstock. Then, after removing the inside details of the cut file in my Silhouette program, cut it again from kraft cardstock to layer behind. Before adhering them together I used colored pencils to fill in the images. It turned out so bright and happy … just like the colors of autumn!

I used an alphabet die set from We R Makers to create a coordinating title. I cut it out from both dark brown and kraft cardstock, offsetting them from one another to create a shadow effect. Next, I used embroidery floss in fall colors to add hand-stitching to the center of each letter.

In the bottom-left corner of my photo, I created a large embellishment cluster using several stickers from the 12×12 Sticker Sheet along with a fussy-cut apple basket from the cut apart sheet.

Finally, I added machine stitching in tan around the perimeter of the page to tie in with the color of the kraft cardstock that I used to back the cut file and to cut the title.

The beautiful colors of the PhotoPlay Autumn Vibes collection along with this beautiful wreath cut file from the Fall 2023 issue of Scrapbook & Cards Today magazine were the perfect combination to scrapbook this photo of my family. I love the warm, cozy feel I was able to achieve!

Thanks for coming by!

JanaBold

SUPPLIES USED IN THIS PROJECT:

JanaEubankYouTubeIcon JanaEubankIconFacebook JanaEubankIconInstagram JanaEubankIconPinterest

SCT Magazine: SCT Signature Dies & Stamps

Hello! One of the challenges we face as scrapbookers is finding supplies that coordinate with our children’s school colors or mascots. When this problem presents itself, it’s a great time to pull out stamps and dies from the SCT Signature Collection to customize your layout.

Today I am up on the SCT Blog featuring the Layered Stars Stamp & Die SetLayered Chevron Die, and the Smile Die from Scrapbook & Cards Today magazine on a layout of my daughter wearing her student officer sweater to school on the first day.

I wanted this layout to have lots of school spirit, so I used the Layered Chevron Die to create two striped bands in her school colors of blue, grey, and white down the right side of the page. The first stripe is predominantly grey, where the wider striped strip on the right is predominantly white.

The stripes were die-cut using Simple Stories White, Grey, Sky, and Navy Color Vibe cardstock.

Next, I pulled out the Layered Stars Stamp and Die set to create a series of embellishments in the same shades of blue, grey, and white. This time, I added teal for a splash of vibrant color.

I paired a phrase from the Layered Stars stamp set with the Smile Die for the title, then added cascading stars and clear gems all around.

The products from the SCT Signature Collection are so versatile and would be perfect to use with your child’s school colors for sports photos, graduation, and MORE! Simply pair them with your favorite ink pads and manual die-cutting machine and you’re ready to create!

Get ready to show us your school spirit this year with the SCT Signature Collection.

See you next time!

JanaBold

SUPPLIES USED IN THIS PROJECT:

JanaEubankYouTubeIcon JanaEubankIconFacebook JanaEubankIconInstagram JanaEubankIconPinterest